Identify and name speakers
Replace diarized speaker IDs with readable names so the transcript and speaker-level results are legible and meaningful.
Outcome
You will have named (or deliberately ignored) the diarized speakers on the sample transcript, switched between candidates while reviewing lines and clips, and confirmed the labels on Transcript.
Starting point
The sample planning_review.json is imported (see First analysis). Speakers still show as SPEAKER_00, SPEAKER_01, and SPEAKER_02.
Audio is optional for naming from text lines. If a matching recording is linked (same base name under recordings), you can load and play short clips while deciding who each diarized ID is.
What you’ll do
Open Speaker Identification for the sample transcript.
Review sample lines for the active speaker (and play a clip when audio is linked).
Assign a clear display name with the save (✓) control, or ignore (⊘) a junk label.
Switch speakers with the previous/next arrows or by clicking another speaker in the list, then continue naming.
Confirm the names on Transcript.
Understand why naming matters for later speaker results.
On a managed library transcript you can also use Apply auto-identify (voice match plus names in the dialogue). For USB ingest, inbox-watch --auto-name does the same after admit — auto-identify.md.
Walkthrough
From Library or the post-import actions, open Speaker Identification. Select the planning-review transcript if it is not already selected.
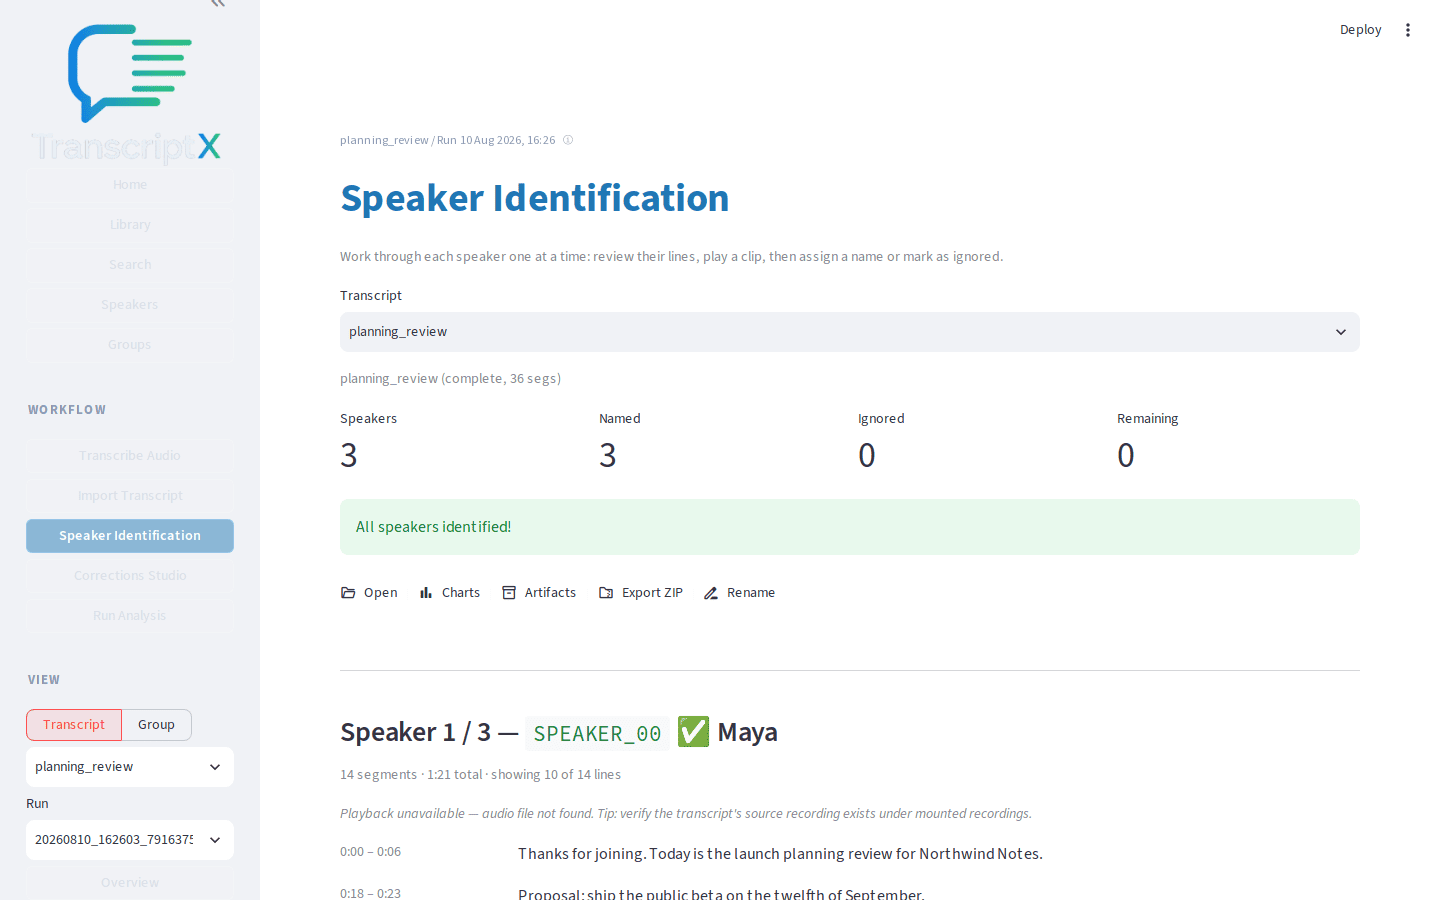
Read the sample lines for the first speaker. Decide who that person is from the dialogue (in this fixture: facilitator / product, engineering, and support roles).
If audio is linked, use the play controls beside a sample line to load that clip. Clips help when two speakers sound similar or when a short turn is ambiguous from text alone. Without audio, continue from the printed lines — naming still works.
Enter a display name in the Name field. Under Link to speaker profile, choose who this diarized ID should attach to: an existing person (name, alias, or voice match), Create new profile, or Name only — this transcript. Then choose the save (✓) control. The workspace advances to the next unnamed speaker when one remains.
A unique name match preselects the existing person. If several profiles share the name, nothing is auto-picked — choose deliberately so you do not create a second Maya.
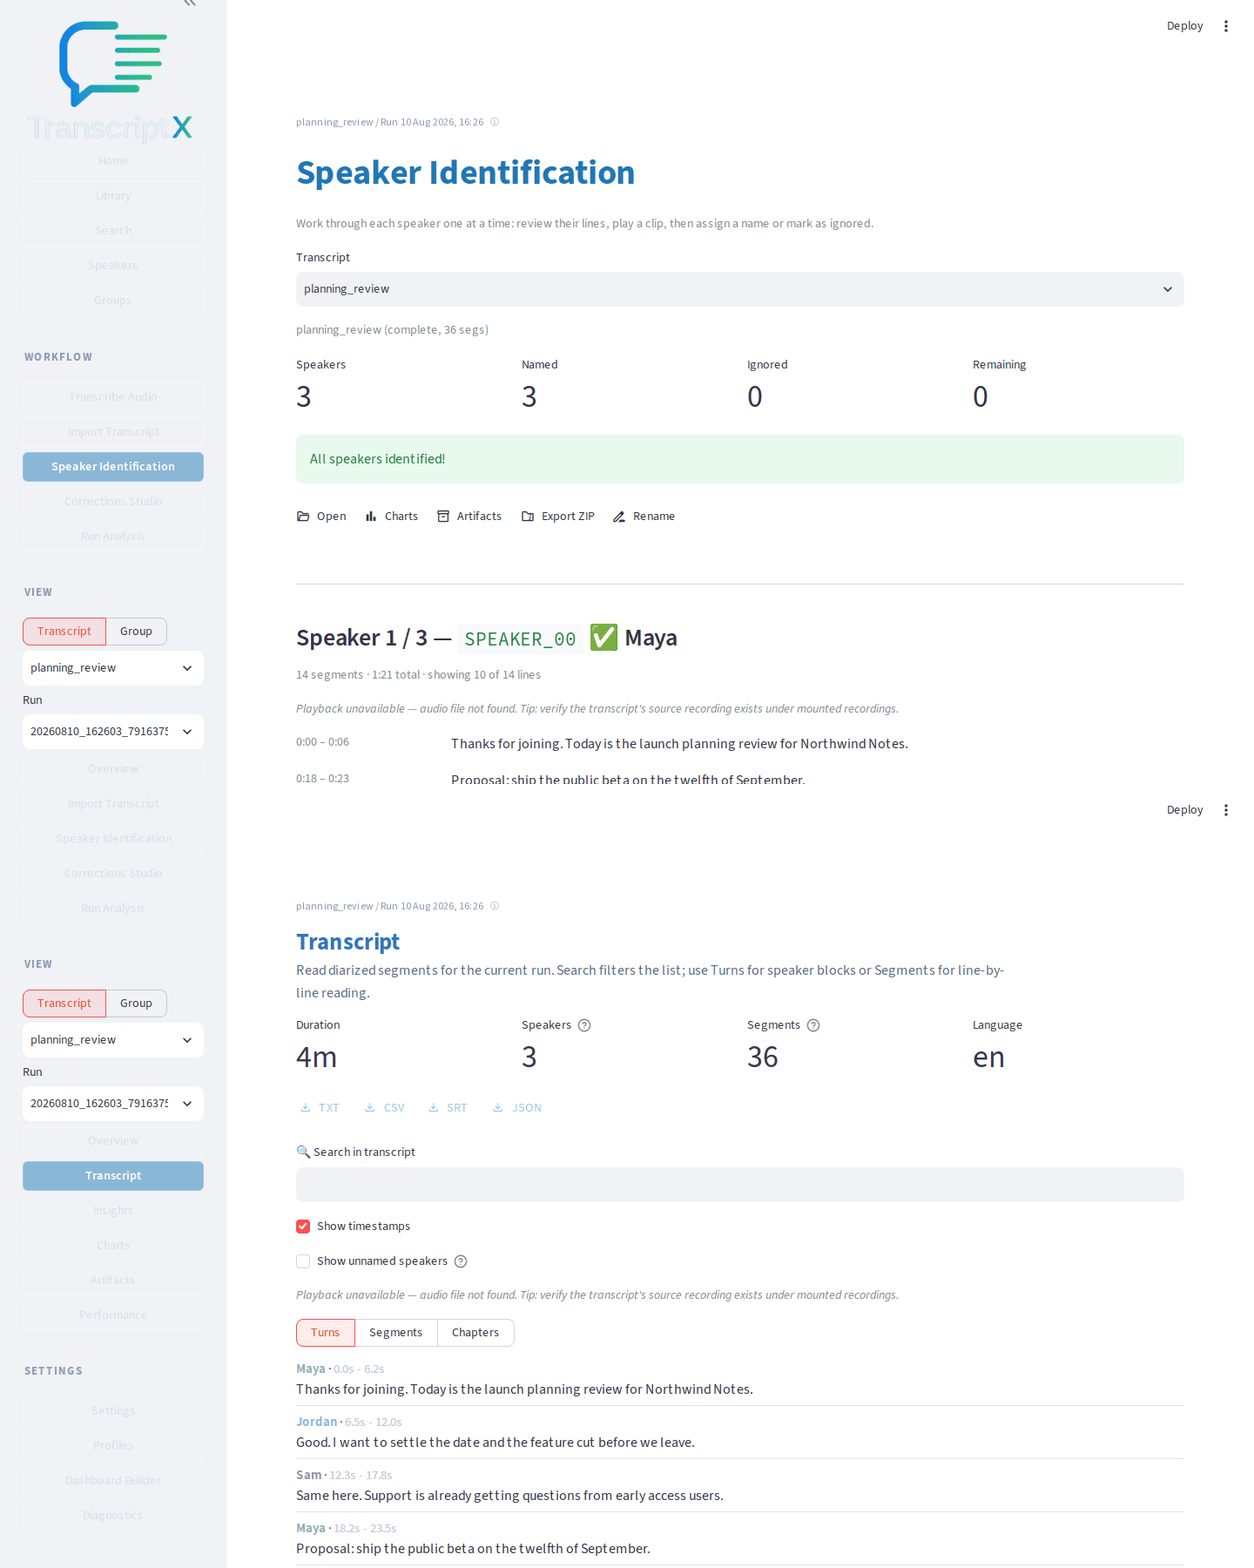
Use the previous/next arrow controls, or click another speaker in the left-hand list, to move between diarized IDs without saving. Sample lines and clip targets follow the active speaker so you can compare voices before committing a name. Keyboard shortcuts (workspace focused):
j/knext/prev,Entersave,iignore, Space play/pause.Repeat naming for the remaining speakers. Suggested names for this fixture: Maya (
SPEAKER_00), Jordan (SPEAKER_01), Sam (SPEAKER_02). Use any stable names you prefer; consistency matters more than the exact strings.If a diarized ID is clearly noise (rare in this short fixture), choose ignore (⊘) so it does not pollute speaker summaries. Open that speaker again and choose ignore a second time to clear the ignore flag.
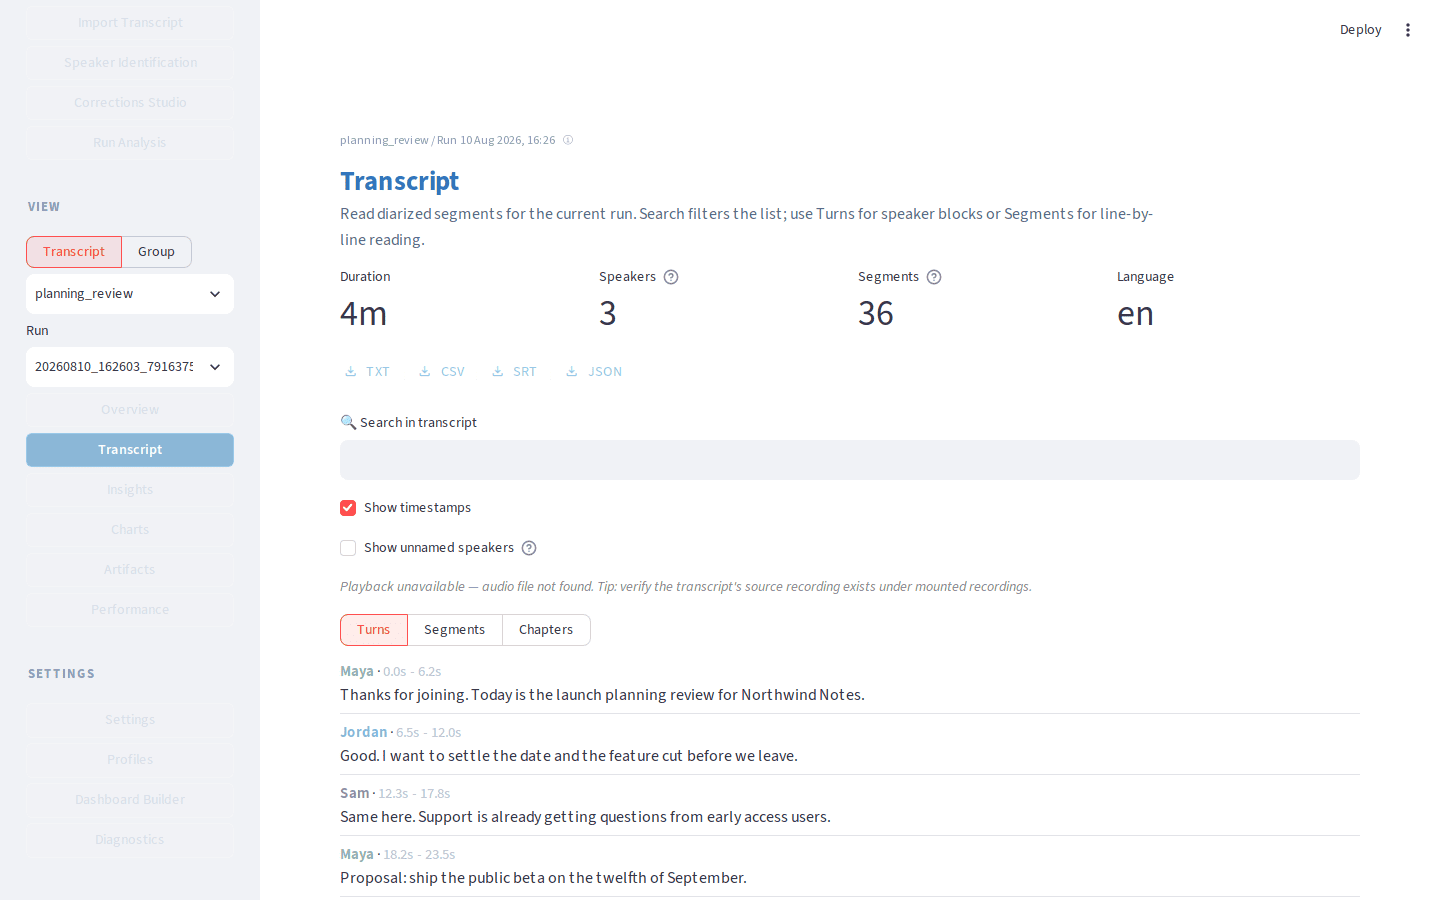
Open Transcript and confirm turns now show your chosen names instead of
SPEAKER_00-style IDs.
Re-run or refresh analysis views that depend on named speakers when you care about per-speaker summaries. A prior run may still reflect old labels until modules that key on speaker identity are run again.
Note: Speaker Identification mounts the Components v2 (CCv2) workspace by default when
transcriptx-workspacesis installed. Roll back to the classic UI withTX_SPEAKER_ID_WORKSPACE_COMPONENT=0. The classic path uses Assign name / Save name / Jump to speaker / Unignore labels; CCv2 uses Name, icon actions (save / ignore / prev / next), and the speaker list. See known limitations.
What to notice
Naming speakers makes the transcript readable and unlocks speaker-level modules; it is not a cosmetic rename.
Switching speakers refreshes sample lines (and clip targets when audio is present) so you can compare before saving.
Ignore is for unusable diarization IDs; prefer naming real participants. On CCv2, choose ignore again to restore a previously ignored ID.
Longitudinal profile linking is optional; naming alone is enough for single-transcript work. When you do link, the control shows which person you are attaching to (or that you are creating a new profile).
Voice suggestions appear in that same list when you have enrolled a reference corpus and pre-loaded queries — see Assist naming with voice. Confirming still saves the name; nothing is applied automatically.
Optional Apply auto-identify (managed library) runs local voice match plus names found in the dialogue and can write names and profile links when confident. Review badges show auto-named / auto-linked. It is probabilistic — not identity verification. Host ingest:
inbox-watch --auto-name. Operator reference: Auto-identify speakers. Settings → Speakers stores ingest defaults (auto_name/auto_link).Downstream speaker cards, per-speaker LLM summaries, and interaction-style views depend on these labels being meaningful.
You should now have…
A multi-speaker transcript with stable human-readable names confirmed in the transcript viewer, after practicing switch / rename / ignore (and clip playback when audio is available).
Next
First analysis if you still need a Balanced run after renaming
Known limitations for diarization and naming caveats
Auto-identify speakers for ingest knobs, CLI, and fusion review